Seeing your Hisense TV’s red light blinking can be frustrating—especially when all you want to do is relax and watch your favorite show. That tiny flashing indicator is often your TV’s way of telling you something isn’t quite right. The good news? In most cases, it’s a problem you can troubleshoot and fix yourself without calling a technician.
TLDR: A blinking red light on a Hisense TV usually signals a power, hardware, or software issue. Start by power cycling the TV, checking the remote, inspecting cables, and testing the power outlet. If the problem continues, you may need to try a factory reset or inspect internal components like the power board. Most issues can be resolved at home with basic troubleshooting steps.
What Does the Red Light Blinking Mean?
Your Hisense TV has an LED indicator at the bottom front panel. Under normal conditions, it stays solid red in standby mode and turns off once the TV powers on. However, when it starts blinking repeatedly, it usually indicates:
- Power supply issues
- Remote control malfunction
- Software or firmware glitches
- Hardware failure (such as capacitors or main board problems)
In some models, the number of blinks may correspond to a specific diagnostic code. Check your user manual to see if the blinking follows a pattern, such as blinking three times repeatedly.
Step 1: Perform a Power Cycle (Soft Reset)
Before diving into complex fixes, try the simplest solution first—a power cycle. TVs can experience minor glitches that are easily cleared.
Image not found in postmetaHow to Power Cycle Your Hisense TV
- Turn off the TV using the remote or power button.
- Unplug the TV from the wall outlet.
- Press and hold the power button on the TV (not the remote) for 30 seconds.
- Wait at least 5–10 minutes.
- Plug the TV back in and try turning it on.
This process drains residual electrical charge and often resets minor internal errors. Many blinking-light issues are resolved at this stage.
Step 2: Check the Remote Control
Sometimes the problem isn’t the TV—it’s the remote. A stuck power button or weak batteries can cause signal issues.
What to Do:
- Replace the remote batteries with fresh ones.
- Inspect the power button to ensure it’s not stuck.
- Try powering on the TV using the physical button on the unit.
If the TV turns on normally using the physical button, your remote may need cleaning or replacement.
Step 3: Inspect Power Connections
A blinking red light often signals inconsistent power delivery.
Check the Following:
- Ensure the power cord is securely plugged into both the TV and the outlet.
- Avoid using damaged extension cords.
- Test the wall outlet with another device.
- If using a surge protector, try plugging the TV directly into the wall.
Power strips and surge protectors can fail over time. Plugging the TV directly into a functioning wall outlet eliminates that variable.
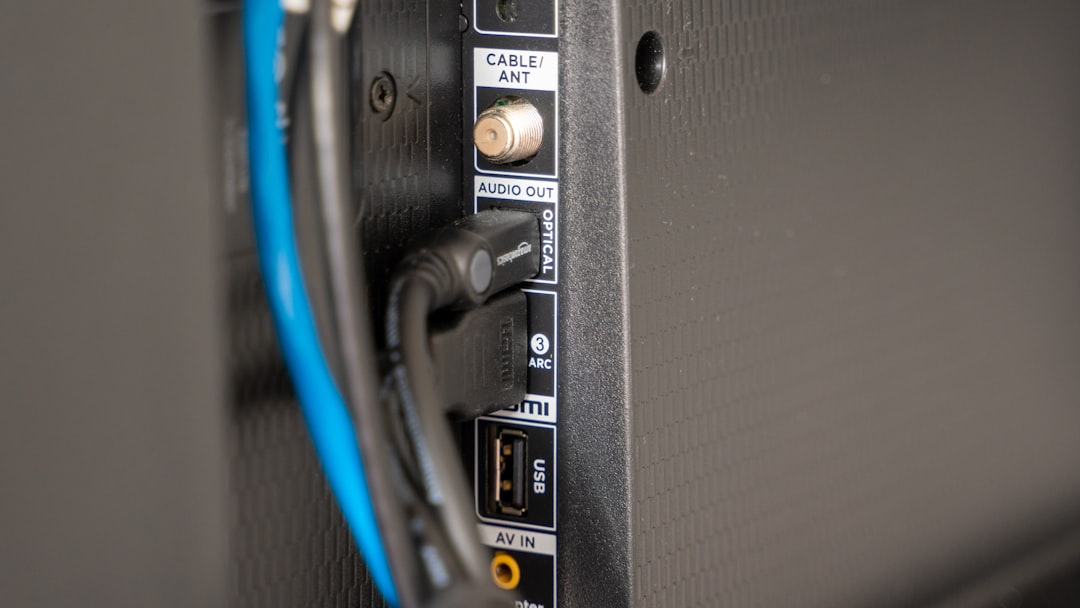
Step 4: Disconnect External Devices
Connected devices such as gaming consoles, streaming sticks, and cable boxes can interfere with startup.
Try This:
- Turn off and unplug the TV.
- Disconnect all HDMI and USB devices.
- Plug the TV back in and attempt to power it on.
If the blinking stops and the TV powers on normally, reconnect devices one at a time to identify the problematic accessory.
Step 5: Check for Firmware Issues
Software glitches can also prevent your TV from booting properly. If your TV turns on briefly before the red light starts blinking again, the firmware may be corrupted.
Possible Solutions:
- If accessible, navigate to Settings > Support > System Update.
- Install any available updates.
- Restart the TV after updating.
If the TV doesn’t power on at all, you may need to download firmware onto a USB drive from Hisense’s official website and follow their manual installation process.
Step 6: Perform a Factory Reset
If previous steps haven’t worked, a factory reset might resolve deeper software errors.
Using the Remote:
- Go to Settings > Device Preferences > Reset.
- Select Factory Data Reset.
- Confirm the reset.
If the TV won’t turn on at all, check your specific model to see if it has a physical reset button (often a small pinhole on the back panel).
Important Note:
A factory reset will erase saved apps, logins, and preferences. Make sure this step is necessary before proceeding.
Step 7: Look for Backlight Issues
If your screen remains black but the red light eventually stops blinking, you may have a backlight failure.
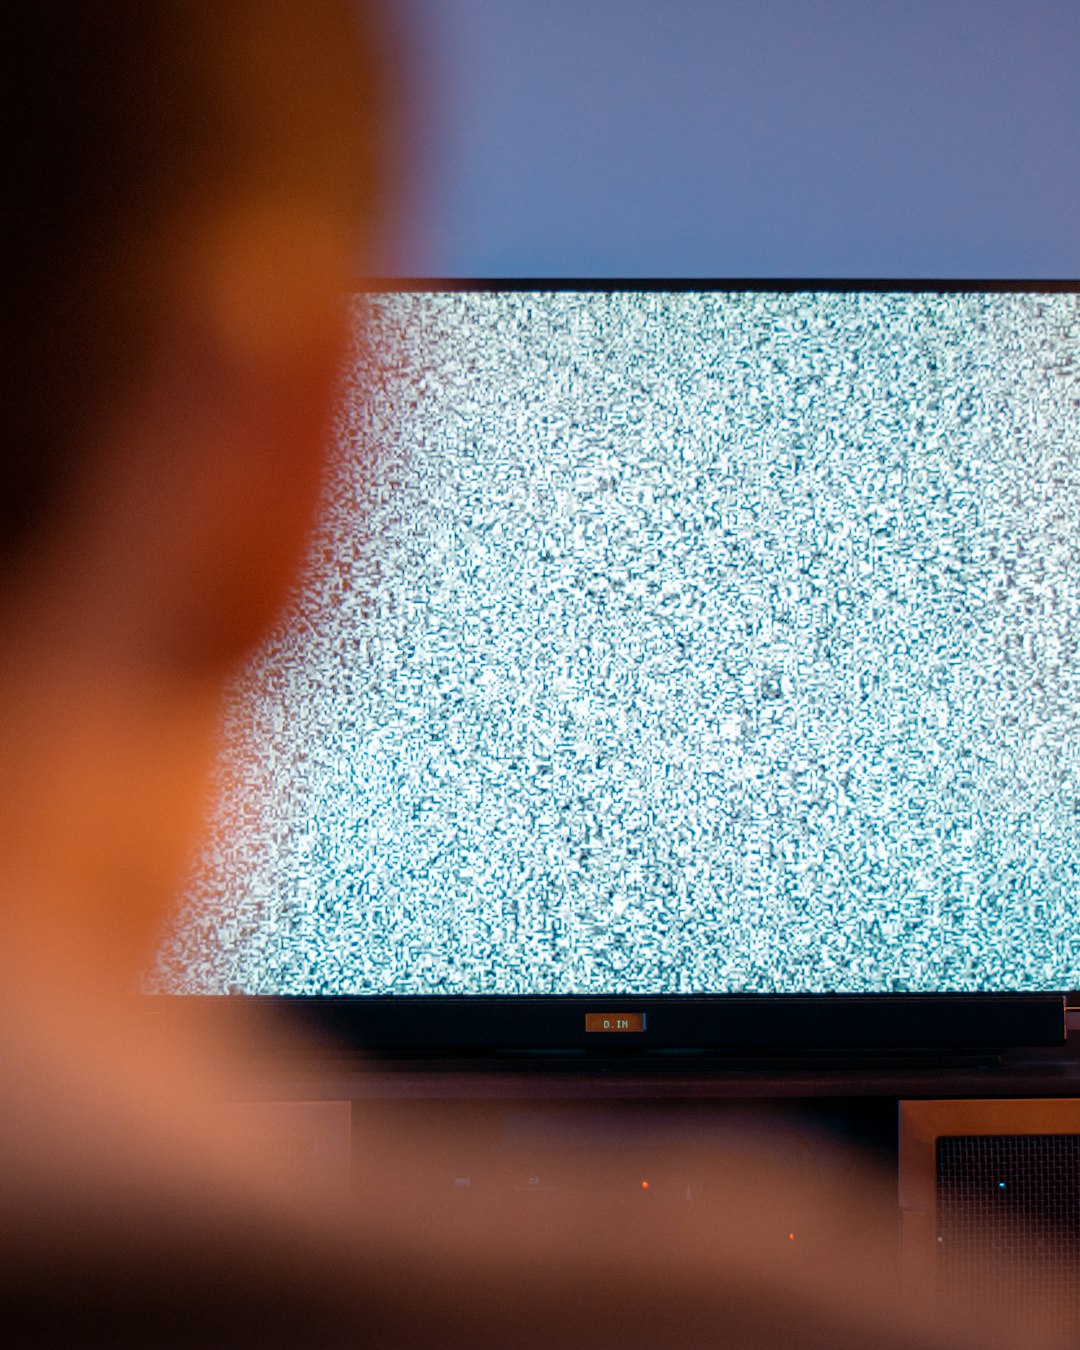
Flashlight Test:
- Turn the TV on in a dark room.
- Shine a flashlight at the screen closely.
- If you faintly see images, the backlight is likely faulty.
Backlight repairs usually require professional servicing unless you are experienced with TV disassembly.
Step 8: Inspect Internal Components (Advanced)
If you’re comfortable opening electronics (and your warranty has expired), the blinking red light may indicate failure in the power board or main board.
Common Internal Causes:
- Swollen or leaking capacitors
- Burned power supply board
- Loose ribbon cables
Warning: TVs contain high-voltage components that can retain charge even when unplugged. Only proceed if you understand electrical safety precautions.
Visibly damaged capacitors appear bulged at the top. Replacing them can solve power-related blinking issues, but this requires soldering skills.
When Should You Call a Professional?
If you’ve tried all the steps above and the red light still blinks without the TV turning on, it’s time to seek professional help—especially if:
- The TV is still under warranty
- You hear clicking sounds from inside
- There is a burning smell
- The screen flickers briefly before shutting off
Contact Hisense customer support and provide your TV model number along with the blinking pattern details.
Preventing Future Red Light Issues
Once your TV is working again, take a few preventive measures:
- Use a high-quality surge protector
- Keep the TV firmware updated
- Avoid rapid power on/off cycles
- Ensure proper ventilation to prevent overheating
- Unplug during thunderstorms
Stable power and updated software significantly reduce the chance of repeat issues.
Understanding Blink Codes (If Applicable)
Some Hisense models use diagnostic blink codes. For example:
- 2 blinks: Power supply fault
- 3 blinks: Main board issue
- 5 blinks: Backlight problem
These codes vary by model, so consult your user manual or Hisense’s support website for precise interpretation.
Final Thoughts
A blinking red light on your Hisense TV may seem alarming at first, but in many cases, it’s a fixable issue. From basic power cycling and checking connections to performing resets and inspecting internal components, systematic troubleshooting often restores your TV to working condition.
The key is to move step by step—starting with the simplest solutions before assuming serious hardware failure. By following this guide, you’ll not only increase your chances of fixing the problem yourself but also gain a better understanding of how your TV works.
And sometimes, all it takes to stop that blinking red light is a simple unplug-and-wait reset.