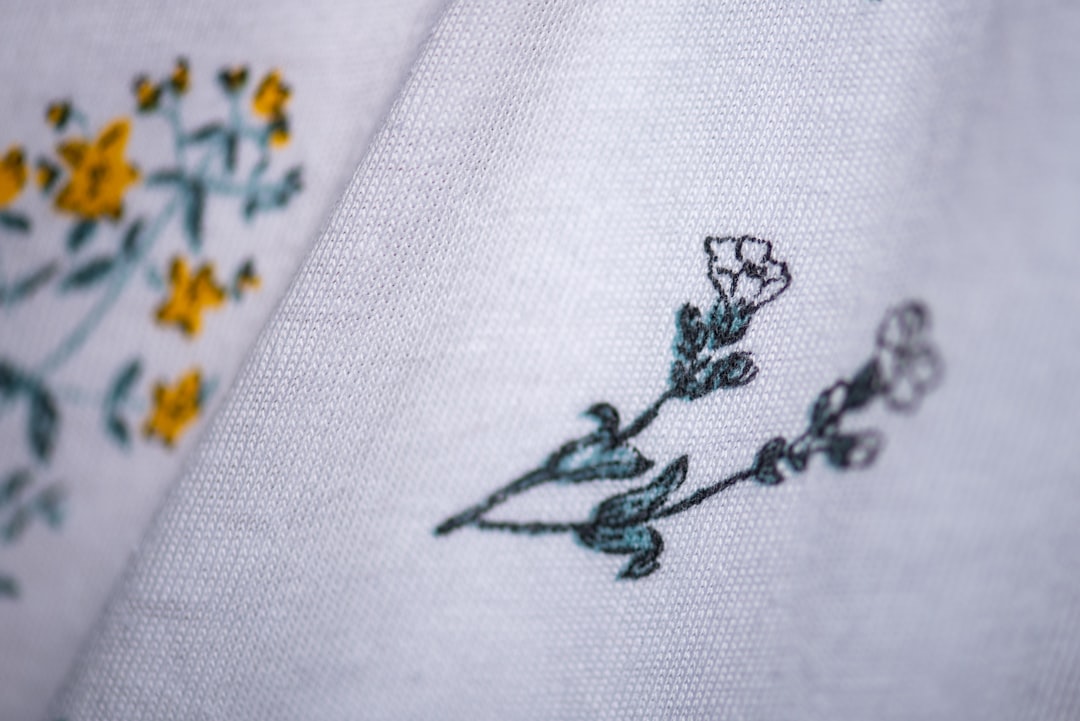
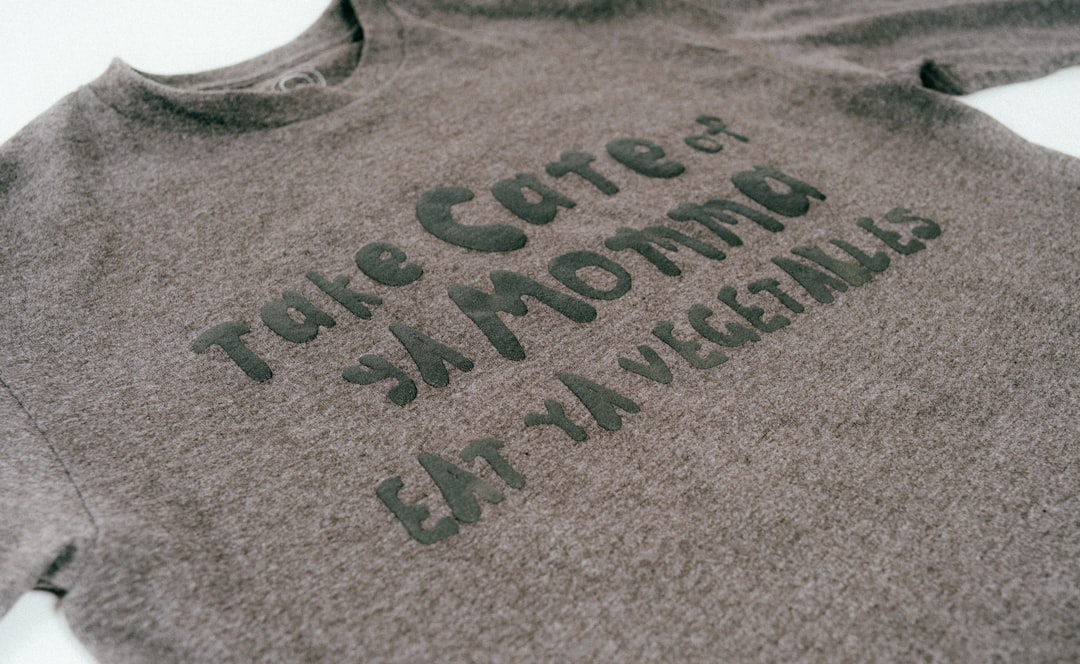
Ever wanted to print your own awesome designs on a T-shirt? It’s easier than you think! With some basic supplies, a little creativity, and a bit of patience, you can learn how to screen print at home. Whether you’re making gifts, starting your own clothing line, or just having fun, this guide will walk you through the steps—DIY style!
Step 1: Gather Your Supplies
First things first—what do you need?
- Blank T-shirt
- Screen printing frame with mesh
- Photo emulsion and sensitizer
- Design printed on transparency paper
- Light source (like a 150-watt bulb)
- Ink (specially made for fabric)
- Squeegee
- Cardboard (to place inside the shirt)
- Plastic gloves & apron (things will get messy!)
Step 2: Create Your Design
Use a bold, simple design. Thin lines and lots of details are tricky. Stick to high contrast black and white if it’s your first try. Print your design onto transparency film.

Step 3: Coat the Screen
Mix the photo emulsion with the sensitizer according to the instructions. Pour it onto the screen and use a squeegee or plastic card to evenly coat both sides. Do this in a dark room to avoid accidental exposure.
Let the screen dry completely in the dark. A closet works great!
Step 4: Expose the Screen
Place your dried, coated screen on a flat surface. Lay your transparency with the design on top of it (facing down). Place a sheet of glass or clear plastic on top to keep the design in place.
Shine a bright light over it for around 15–20 minutes, depending on your setup. The areas covered by the black design will stay soft, and everything else will harden.

Step 5: Wash Out the Design
After exposure, gently rinse the screen with lukewarm water. The emulsion under the black parts will wash out, revealing your design.
Let it dry flat. You’re almost there!
Step 6: Prep Your Shirt
Lay the T-shirt flat and slide a piece of cardboard inside. This stops ink from seeping through to the back. Position the screen on top of the shirt where you want the design to go.
Step 7: Time to Print!
Put a spoonful of fabric ink above your design on the screen. Use your squeegee to drag the ink down firmly and evenly. You might want to go over it twice to make sure it’s well covered.
Step 8: Cure the Ink
Let the T-shirt dry for at least 24 hours. To set the ink, you’ll need some heat. Use a heat gun or iron (with parchment paper between the iron and print). Follow the ink manufacturer’s instructions for curing.
Step 9: Show Off Your Work!
That’s it! Your custom T-shirt is ready to wear. Rock your style proudly or give it as a gift. Even better—make more with different colors and designs!

Bonus Tips
- Wash used screens gently and reuse them!
- Experiment with colors once you get the hang of it.
- Try printing on tote bags or hoodies too!
- Make your own screens with mesh and a wooden frame.
Screen printing is a fun mix of art and craft. Don’t worry if your first print isn’t perfect. You’ll get better with every try. Just keep experimenting and enjoy the process. Before you know it, you’ll be printing like a pro!
