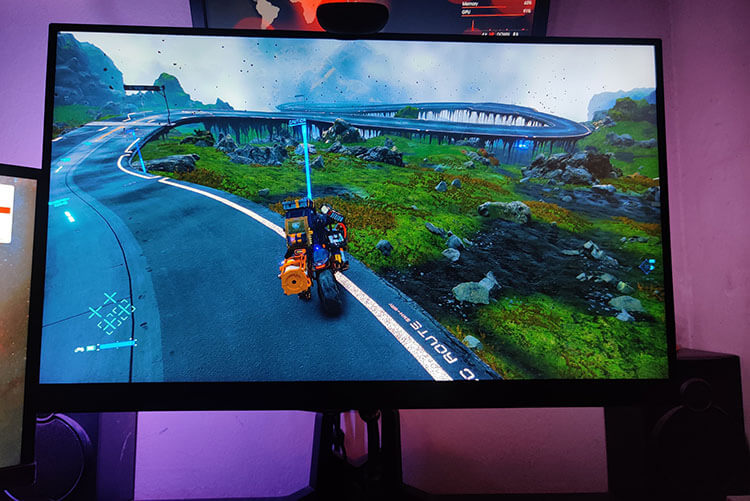
You may have problems like games that cause variations in color saturation. I also faced this problem & scrouged the internet but couldn’t get any proper solution. Recently, I’ve run into an issue. The screen’s color saturation increases when I launch a game from anywhere other than the Microsoft Store, but it returns to normal after I close the game. I have attempted a clean installation of the game and the necessary drivers, but the problem continues. When I try a screenshot, the colors seem fine.
So, I’m writing this article to help you understand the source of the problem & how to fix this. Let’s continue with the article.
Why does the color saturation vary while playing Games?
Color shifting or saturation shifting occurs for various reasons.
- Your Monitor Panel may be faulty
- Your HDMI, VGA, and Display Port Cable may be out of the life cycle.
- HDR/ Auto HDR may cause the problem
- Cache files may cause color degradation
- GPU Driver may be one of the issues
- Color quality issues.
How do solve color saturation changes while playing games?
Method 1: Display color profile calibration
Whether you want to check if adjusting the Display Color Profiles to your needs makes a difference, you may give it a go. Please proceed as described below.
- The Color Management app may be launched by typing its name into the Taskbar’s search box.
- Go to the “Advanced” menu.
- To calibrate the screen, go to Settings > Advanced > Calibrate Display and then follow the on-screen instructions.
- In order to alter the default system profile, go to Settings > Change system defaults > Default system profile, then choose the profile you’d want to use as the default and click Set as default.
Method 2: Install the latest driver software
You might try upgrading the display drivers to see if it helps. Take the following actions:
- In order to access Device Manager, use the Windows key + X.
- Upgrade your screen’s adapters.
- Select Update Drivers when right-clicking the display driver.
- If asked, restart the computer.
Or you can do it by AMD or NVidia’s own respected software.
Method 3: Turn off the Display for a while
If you turn the screen off, wait 15 seconds, and then turn it back on, you will see a difference. Restarting your computer may sometimes resolve problems, even minor ones, that have transient causes.
If the issue is connected to colors and persists despite your best efforts, consider turning the device off for 30 minutes and then trying again. If it does the trick, then the problem is likely caused by your screen being too hot.
Method 4: Restart your Computer
Start your machine back up. There’s a remote possibility that the discoloration or distortion is the result of an OS-related problem, in which case restarting the device should solve the problem. To begin troubleshooting, a simple restart is a good first step since it requires no special knowledge or skills. In addition, rebooting the computer often solves issues.
Method 5: Check the Display Output cable thoroughly
Make sure that both the monitor and the computer end of the wire are firmly connected to their respective devices. To be safe, unhook both ends and then re-plug them both in.
Sometimes, newer interfaces, like HDMI, might get unplugged from both the display and the computer because of the force of gravity. Even though screws are used to lock older connections like VGA and DVI, they might become loose.
Method 6: Degauss the Display Screen
Make sure the screen is degaussed. Because magnetic interference, which degaussing fixes, only occurs on huge CRT displays of yore, this is very retro wisdom.
However, degaussing is likely to resolve coloring problems around the screen’s borders if you’re still using a CRT display.
Find the monitor’s default level and activate it through the adjustment buttons or on-screen settings. Any color difficulties with your display should be resolved after applying this preset since it will restore all of the settings to their “factory default” values.
Method 7: Changing the Settings of your GPU
Modify the video card’s color quality setting. Increasing it to its maximum setting is usually the best way to fix problems with the colors, particularly in photographs.
These higher color selections are unfortunately not supported by older versions of Windows, so if you’re using Windows 7, Vista, or XP, you can rest assured that this is not anything you need to worry about.
Observation
Any noticeable color shifts or distortion on your screen at this stage are almost certainly hardware issues with your display or video card.
Ways to tell include:
If you try a different monitor in lieu of the one you’re using, the issues should go. It’s quite unlikely that the issue is related to anything else than your failure to implement the aforementioned solutions.
If the issue persists after trying a new monitor and cords, it’s time to get a new video card. Evidence of the issue prior to Windows’ startup, such as in the POST process, is more proof that the visual card is at fault.
Conclusion:
Some people may experience temporary eye fatigue when exposed to vivid colors or when the saturation of those colors changes rapidly. The use of outdated green monochrome displays, for instance, might cause users to experience temporary pinking of all white objects. The cones in the eye grow tired when constantly stimulated to their maximum capacity, therefore if you spend a lot of time in front of the screen, you may want to avoid using really vibrant colors.
I hope the problem with the colors flickering and the saturation being off has been fixed for you after going through this article. Adios.